
 Roger's Workshop
May 5, 2020 Update
For April 15, 2020 Update (Click Here)
For May 17, 2020 Update (Click Here)
For June 19, 2020 Update (Click Here)
For December 30,2020 Update (Click Here)
For January 24, 2021 Update (Click Here)
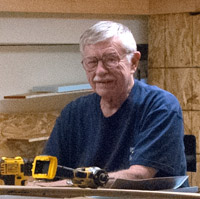
Work on the Mt Anna Division of the TR-C&NW RR (Thomasville Region of the Chicago and North Western Rail Road) has continued in earnest during the coronavirus pandemic of 2020. After grand-daughter Anna (for whom the Division was named) went home to pursue her Purdue Engineering studies, rail-bed construction work fell upon the TR-C&NW Chief Engineer’s shoulders, who while uncomplaining is now modestly bent with arthritis and the ravages of age.
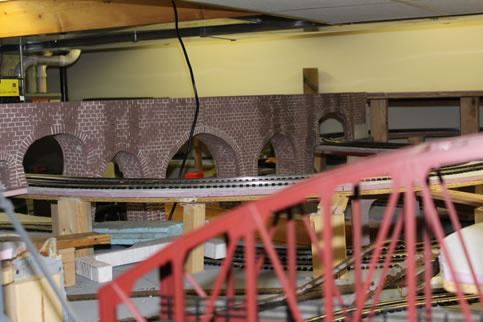
Mt Anna Division’s Roadbed sub-structure is now complete in the Out-a-site region and this update will illustrate construction of the massive stone arch bridge between Barb’s Butte (the westernmost mountain in Out-a-site) and nearby Mount Millie where at its pinnacle are the important mines, Max-Mica and Mt Bessy Mining Co. at 51.3 smiles from Jamestown. The spur atop Mt Millie while not much more than two useful car lengths in depth, provides room for the occasional box car of blasting, tank car of bunker oil, and room for a hopper or gondola for these small but valuable operations. Both mines have shipped limited quantity of high-quality product and are considered to contain twenty plus years of proven reserves. Thus, the bridge, soon to be unofficially christened as “Men-Nerds Pons” for the investment by mathematicians who made their personal fortunes in process control (not to be confused with Menards, the source for materials used in its construction).
The Pons (bridge) strength is based on 2x4 technology: the very same technology that provides structural rigidity in conventional ‘stick built homes. The track will be laid upon a ½ inch layer of pink foam insulation. The void spaces between wooden supports will be filled with a variety of foam insulation: mostly from our scrap pile. The foam provides ‘backing’ for the visible rock and brick superficial surface of the bridge. The external surface is a hot-knife carving on 0.37-inch-thick foam simply glued atop the underlayment of 2x4’s and scrap foam.
I spent a bit of time each day working on Men-Nerds Pons, my nerd-built bridge. At the same time, I fit other projects into the day. I can assure you that as the snow receded in the woods of northern Wisconsin there were other tasks more pressing than ‘bridge building’.
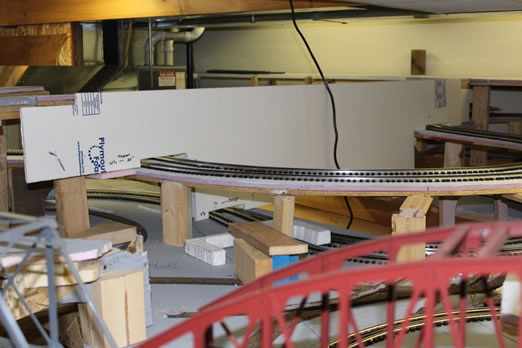
We’ll start out by looking at work done on April 16th. Here, (below) you see the bridge constructed out of 2x4 lumber hand-picked at Menards for straightness and lack of knots.
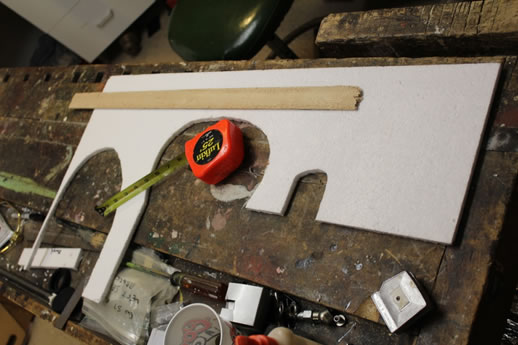
The gap to be filled with foam packing materials is obviously that volume which will be the bridge, and will serve to ‘back up’ the surface material, a product of Plymouth Foam, foil backed 0.370 “ thick, white poly (of some kind), with a clear sheet of plastic on the side opposite the aluminum foil. I chose this product based on ‘low cost’ and availability from Menards. It carves easily as do all the various insulations and cuts to shape with a hot iron. My iron came from Michael’s, under the brand name Styro Cutter distributed by Flora Craft.
You’ll find the Plymouth Foam is easy to cut to size and shape. The sizing step can be done before you remove both foil and clear laminate. However, do tear off the foil and clear laminate before attempting your brick details. I found the foil left very small remnants which would amount to having reflective foil were it seen. I used PL 300 to glue the various foam pieces together.
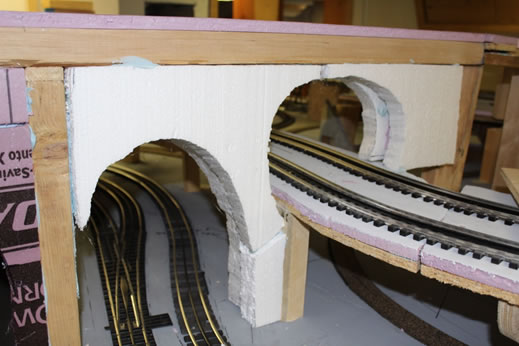
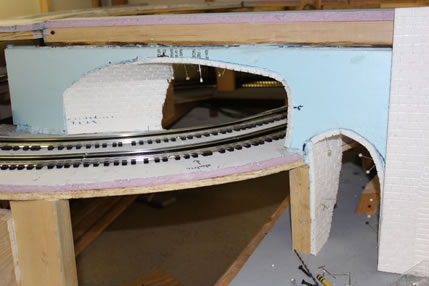
The next photo, taken the same day, April 16th is our 18-inch-wide arch (measured at the base), which is just enough width to allow an old engineer get into the middle of the trackwork.
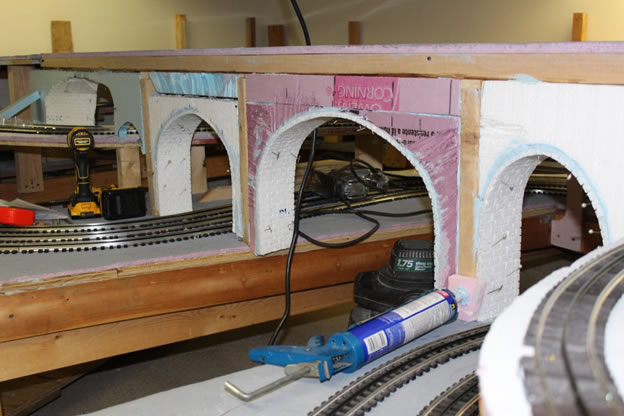
On April 20-21, under-arches were carved and some were installed. Below, “MenNerds Pons”, in this view shows a bridge arch spanning the main and passing siding of our Mt Laura Division being supported while PL 300 foam-glue is setting (a few minutes at most).
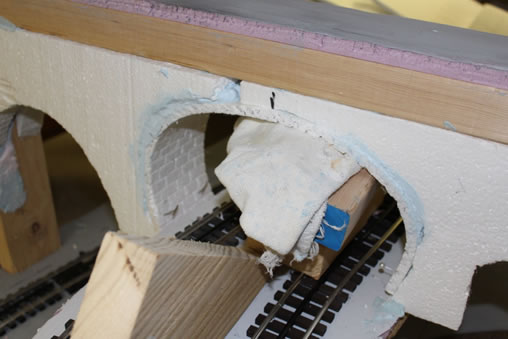
Below, on April 22nd, the 18” duck under access, is now being lined with blocks 4’ x 2’ carved upon the surface of the Plymouth Foam. Pins are used to hold the foam in place until the glue
dries. The blue material is PL 300 which dries to a flexible bond between layers.
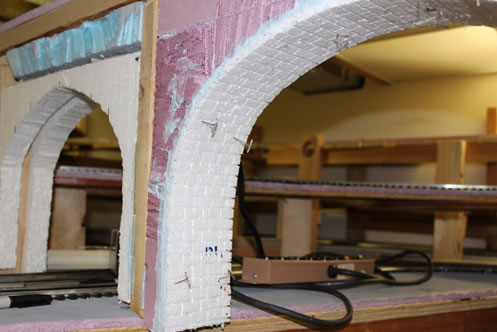
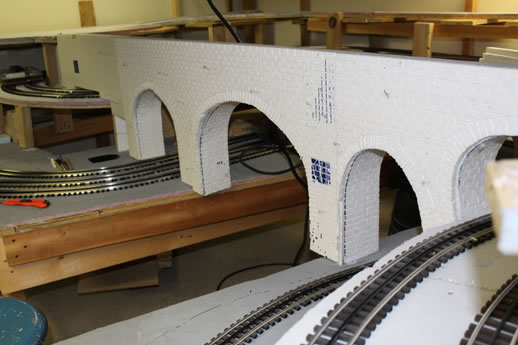
The following, shows much of the south face of the bridge with arch bricking in place. on Apr 23
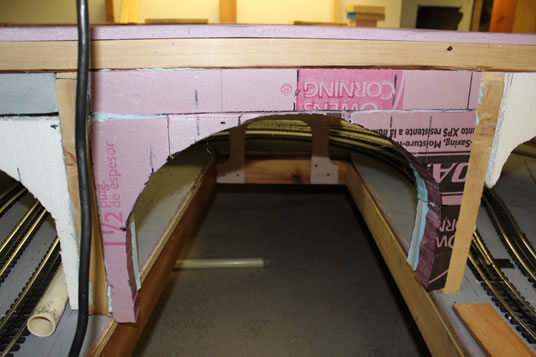
On April 24, the facia of the bridge was just then being cut to size. The bridge is over 8 feet in length and plenty strong enough to support an O gauge train.
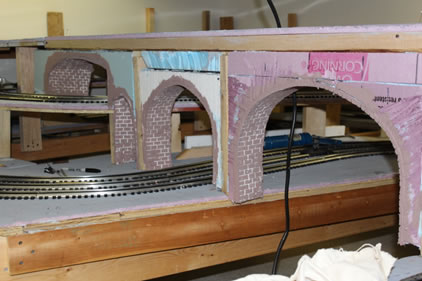
On April 26 the arch over the narrow-gauge T&O RR (On30) was constructed. It took many hat pins and a bit of patience to avoid ‘drooping surfaces.
The north Facia ‘brick surface’ is shown below on April 26th as just blank pieces of Plymouth Foam board cut to rough shape.
The south face, later on April 27th with much of the rock work carved. Faces a large mirror in the distance. Thus, when visitors enter the Out-a-site Region of the TR-C&NW RR area they cannot help but see the south face of the Men Nerd Pons.
On May 1st painting was in full flower. Below, the arches have brick work done and a first coat of paint applied. The surface of the south face was painted at the workbench in our shop.
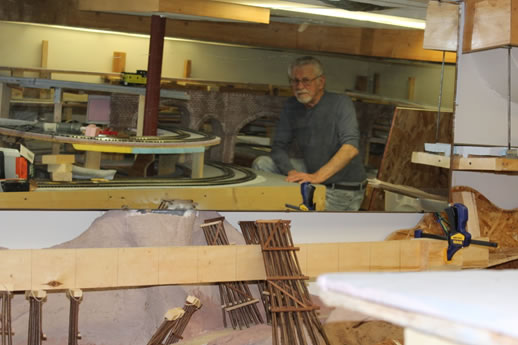
On May 3rd my reflection in the wall mirror shows the south face with a first coat of paint applied. This paint job will be improved by weathering and detailing at a later date.
And the north face shown below for the first time. The bridge now has a first coat of paint and is beginning to look more or less convincing.
In summary, the project took the better part of two weeks to get to this point. Weathering will take place when we’re doing the scenery. The next project will be another bridge.
Enjoy,
RGB
Join us in the “Greatest Hobby” as a member of the TLMRC.